

If you’re an event organizer looking for a transparent, easy-to-use platform to manage your events, EventsFare has covered you. With its all-new Organizer Dashboard, you can take control of everything, from creating your account to tracking reports and managing calendars, all in one place. Here’s your quick-start guide to using EventsFare like a pro:
Step 1: Create Your Account
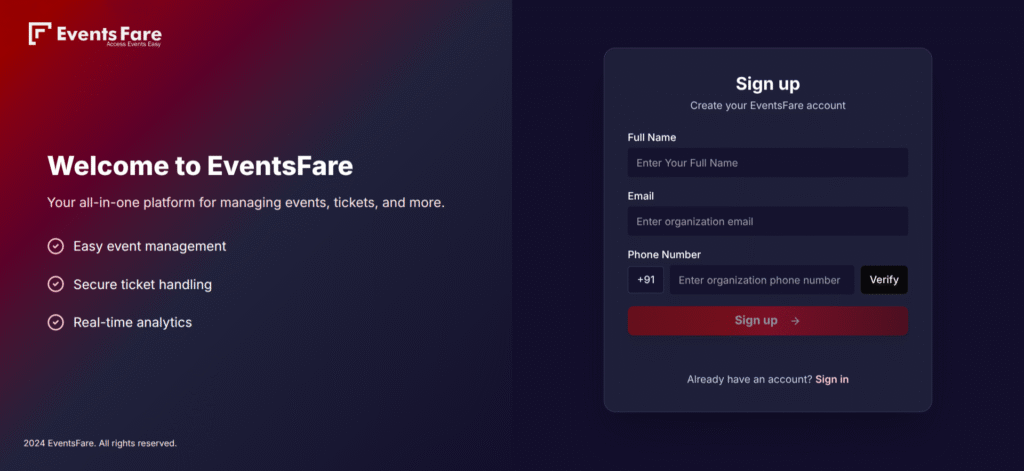
To begin, sign up on EventsFare as a new organizer. You will find:
- Signup Page: Enter your basic details like name, email, and password.
- Login Page: Once registered, log in using your email/password or even with your phone number.
After signing up, you’ll be guided into a personalized onboarding flow that helps you set up your profile.
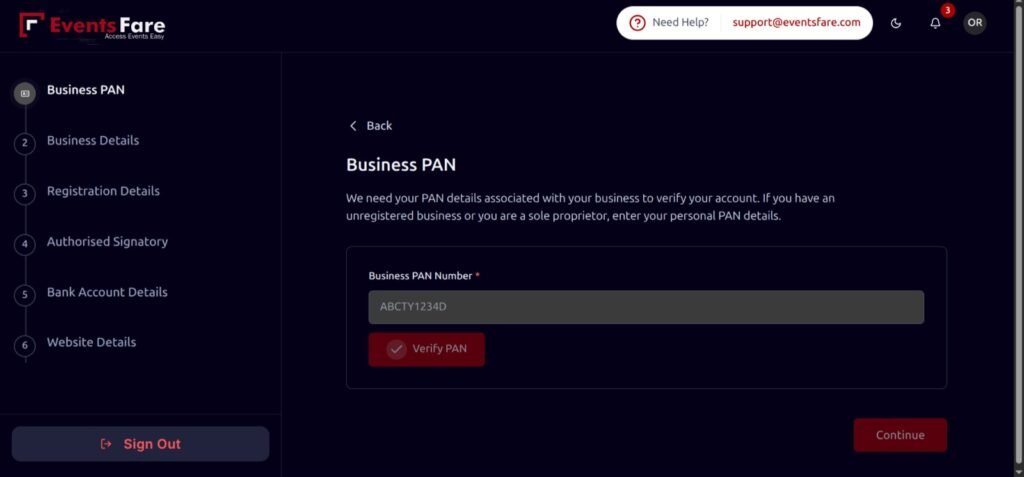
Step 2: Complete the Onboarding Flow
The onboarding process ensures your account is fully ready before you host any events. It’s a multi-step guide that covers:
- Business Information
- Identity Verification
- Payment Plan Selection
Each step updates your progress bar so you always know where you stand. This reduces confusion and ensures organizers provide all important details upfront..
Step 3: Navigate with the Sidebar and Navbar
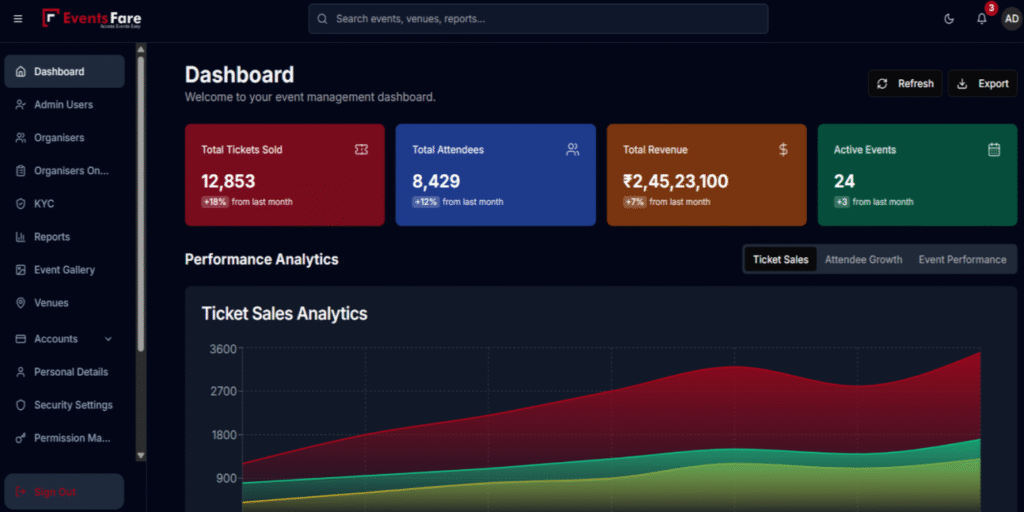
The Sidebar and Navbar give quick access to your dashboard sections.
- The Navbar lets you manage profile settings, toggle dark/light mode, and view notifications.
- This clean layout ensures you can manage event details without getting lost.
The Sidebar lists main navigation links and highlights the page you’re on.
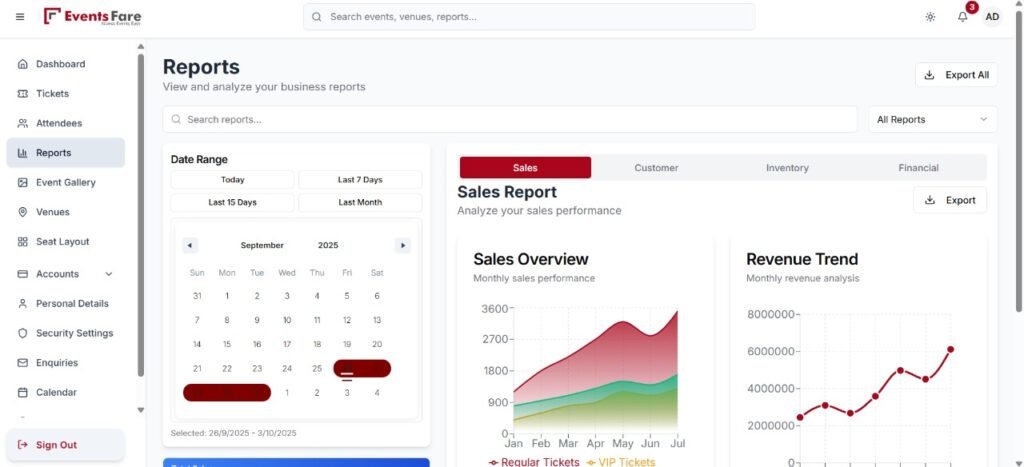
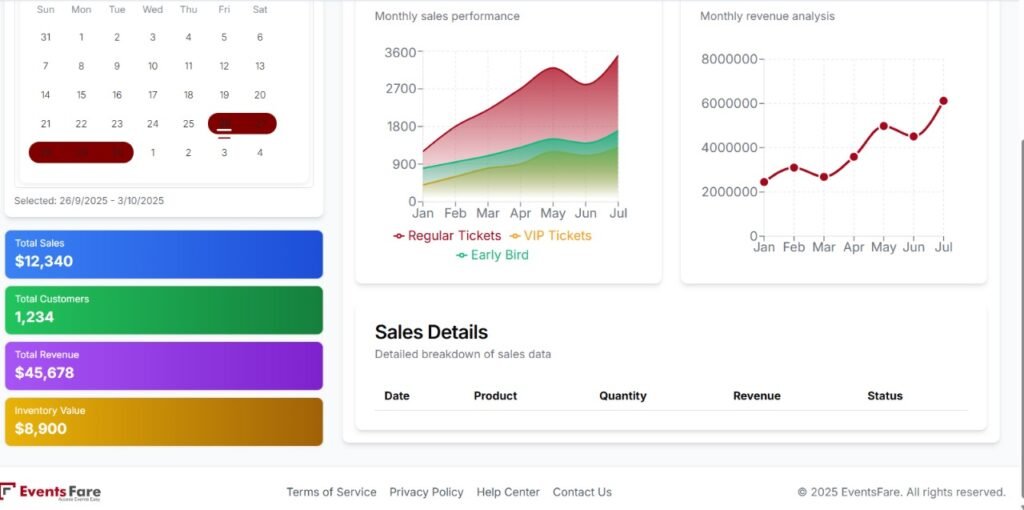
Step 4:Explore the Reports Section
Once your events are live, you can visit the Reports Page to track performance. The dashboard provides:
- Visual charts that give insights into event activity.
- Date range filters for analyzing trends (currently UI only, backend integration coming soon).
This helps you keep an eye on attendance, engagement, or ticket sales metrics in one glance.
Step 5: Update Your Personal and Security Settings

Your account safety and details matter:
- Personal Details Page: Update information like your name, email, and contact info.
- Security Settings Page: Change your password and enable Two-Factor Authentication (2FA).
You’re always in control of your account details and security.
Step 6: Use the Calendar to Stay Organized
The Calendar Page is a powerful feature for event organizers. It offers:
- Monthly Calendar View: Events marked neatly on each date.
- Timeline View: See everything happening in chronological order.
- Event Cards: Expand any event to edit tasks, track goals (like ticket milestones), and manage your to-do list.
- Deadline Banner: Always visible at the top, reminding you of the next upcoming deadline.
This feature ensures you never miss a deadline or task while planning your events.
Why Organizers Choose EventsFare
- End-to-end support from planning to execution
- Corporate-friendly packages tailored to HR and team needs
- No back-and-forth with vendors or logistics
- Fast decisions, fewer emails, zero headaches
Ready to Host with Ease?
Whether it’s your first time or your fiftieth, EventsFare makes corporate event planning stress-free.
Start Planning Now with EventsFare or www.organizer.eventsfare.com